So it’s been awhile as I’ve been a wee bit busy doing a bit of this and a bit if that.
What I’m wanting to share some amazing recipes/ideas of a few things I’m making to help save money.
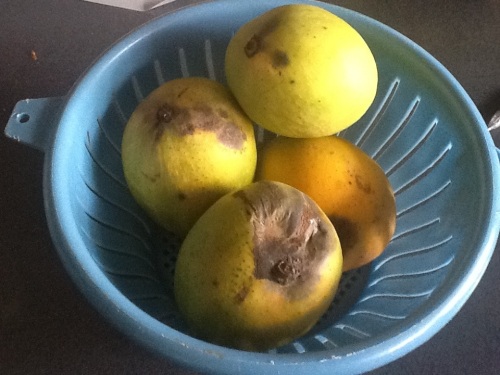
If you have surplus fruit you could try making some jam.
We had been given some mangos so I made some jam in the bread maker. To make this you do need a BM with a jam function otherwise it won’t work.
You will need:
3 cups of diced fruit of your choice
1 cup of sugar
1 tsp lemon juice
1 TBSP water
2 tsp Pectin (is use jam set with pectin available at Wollies)
Put all the ingredients into the bread maker, follow the manufacturers instructions and 120 minutes later you have homemade jam!

Do let the jam cool before you remove the pan from the machine and it’s best to take the paddle out with tongs.
Pour your jam into sterilized jars – just wash jars in the dishwasher or wash thoroughly by hand and rinse well, then put the still wet jars up-side-down in the microwave on high for one minute.
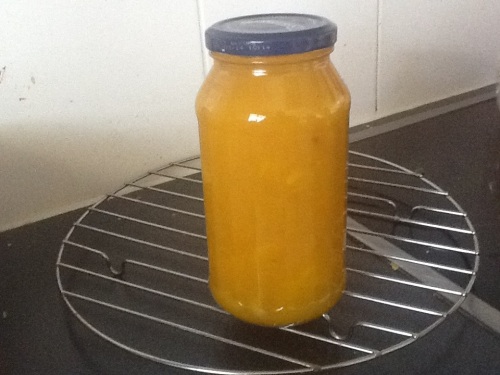
Enjoy!
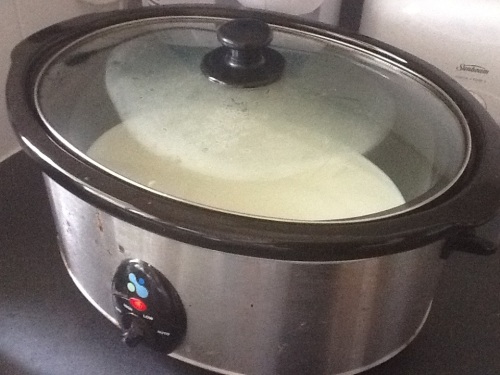
I also tried my hand at make yogurt in the slow cooker/crockpot.
Homemade Crock-Pot Yogurt Recipe
Ingredients
– 2 litres whole milk
-1/2 cup plain yogurt made with live and active cultures (I have made this with flavored yogurt before and it worked but the yogurt had the faint flavor throughout, so it should be plain yogurt)
-optional 1-2 cups of dried milk for thickening (I used 1 cup and it was thick)
Instructions
Pour the 2 litres of milk into the slow cooker
Cook on low for 2 1/2 hours to 180 degrees (I never worry about the temperature, but in case you want to know).
Turn off the slow cooker, and let the warm milk sit for another 3 hours, keeping the lid on the slow cooker (cooling to 110-115 degrees).
Take 2 cups of the milk out and mix it with the yogurt.
If you are thickening your yogurt with dried milk, you can add it at this time to the yogurt mixture.
Combine the yogurt mixture with the milk in the slow cooker.
Turn on the light in your oven.
Insert slow cooker into the oven with the lid on. DO NOT turn on your oven. The oven light will provide warmth for your yogurt cultures.
My oven light doesn’t come on without the oven coming on SO I wrapped it in a thick towel to keep warm and placed it to the overnight
Leave in the oven for 8-12 hours.
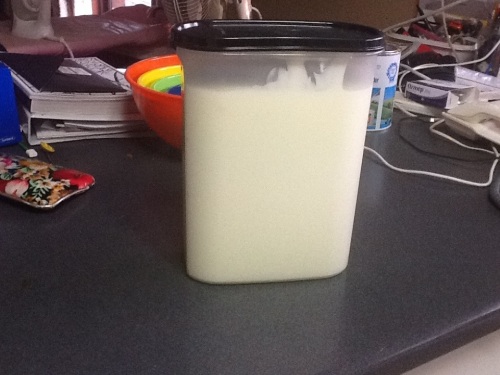
Add your favorite toppings.
You can store in the fridge for up to two weeks.
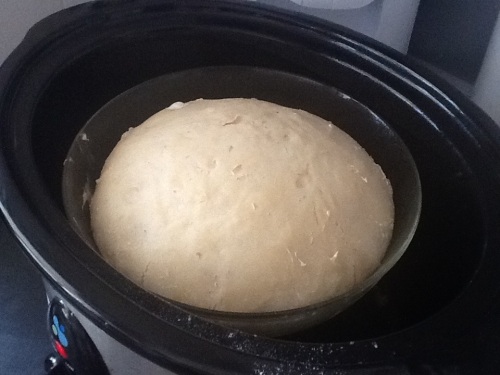
I also made sour dough starter and bread, cooked in the slow cooker/crockpot.
#first you need to get a starter working, this can take a few days, please be patience with it. It took a second go after watching YouTube then understanding how it was meant to work.
Sourdough Starter
Ingredients
-whole wheat flour (I have read white flour is good to start with until you get the hang of it.)
-filtered water or water that has been boiled and cooled (if using tap water, you can let it sit out over night so the chlorine evaporates out of the water.)
-glass or mason jar
-cheesecloth or coffee filter (will crust and tear if you get the dough on it, so I recommend cheesecloth) to cover the glass jar
-wooden spoon
Instructions
Combine 1/4 cup of flour and 1/4 cup of water in the glass container and cover it with the cheesecloth.
Leave it on your counter top for 24 hours.
There will be a separation of liquid on top (called the hooch or alcohol) that is darker than the start, and you can pour it off if you want, but you can just mix it back in. I mix it in.
Stir, and feed your start with another 1/4 cup of flour and 1/4 cup of water, and stir again. You can use a fresh container each day.
Repeat this process for 7 days, and you have your sourdough start! When you see the bubbles, you have captured wild yeast. Isn’t that crazy? The start should have a sourdough smell.
If you won’t use the start right away, you can put it in your refrigerator with a lid on it, and feed it equal parts water and flour once a week. It will keep in the fridge for a couple of months.
Sourdough Bread Recipe
Ingredients
1/4 cup sourdough start (which is the flour and water together: read above)
two cups of flour
1 1/2 cups of water
1 t salt
Instructions
Combine 1/4 cup of your sourdough start with two cups of flour, 1 1/2 cups of water, and 1 teaspoon of salt.
Leave in a glass bowl on your counter (if it’s a cold winter’s night, you may want to leave it close to a heat source) for 16-17 hours covered with plastic wrap. I used the dough after about 12 hours, and I really don’t notice a difference, but may be it’s less sour. It will look similar to a sponge, like the picture below, with all of those nice bubbles after the massive hours.
Place dough on a floured surface, and turn a few times. You don’t need to aggressively kneed it. The dough can also stay a bit sticky in the middle, but the outside of the dough shouldn’t be sticky. I have had to add a cup of flour before at this point because the outside of the dough kept absorbing the flour. I use a spatula to mix it all in. This helps my hands to be cleaner.
Grease your crock-pot with coconut or olive oil.
Place dough in the crock-pot. You can cover it with a paper towel or wash cloth to absorb the moisture on top. I didn’t do that on my first loaf, hence it looks a little glossy on top.
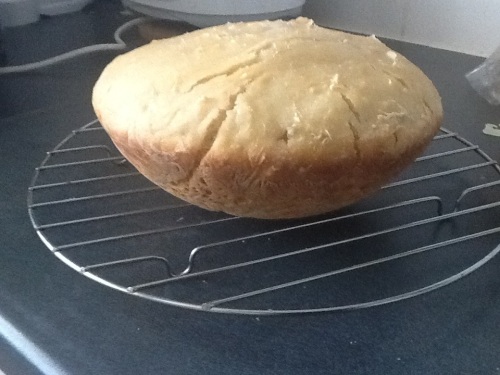
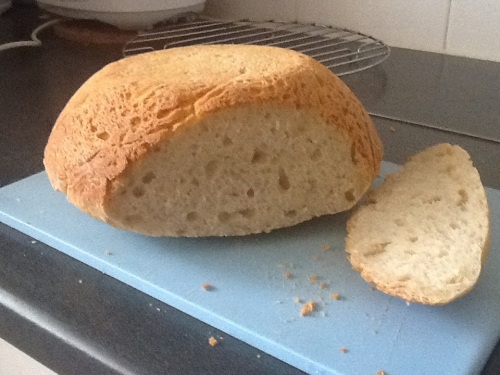
Cook on high 2 1/2 hours checking after 2 hours.